Tag: Windows 11
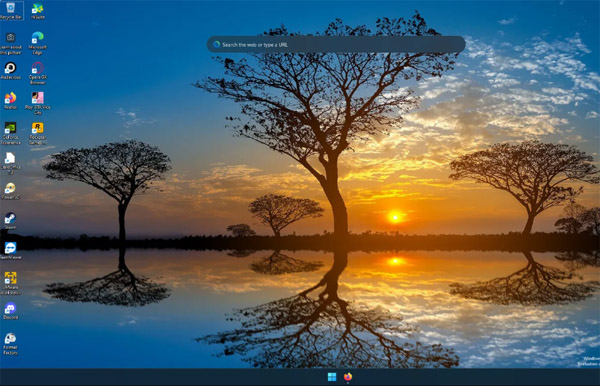
Customizing icons on your Windows 11 PC is quite simple. It makes it even easier if you already have the icons available on your system. You can find a good number of customized icons for Windows on websites like Devian Art, check out the sample by Dizl Icons (the same icon pack shown in this article’s thumbnail). A lot of users have created custom icon packs for a lot of programs. So feel free to check the icons on third-party websites.
Once you have got access to the icons and have downloaded them to your Windows PC, it is now time to change the icons. There are different ways that you can follow to customize the icons on your Windows 11 PC.
Change Desktop Icons from Settings App
The Settings app for Windows 11 is feature rich and has been improved a lot when you compare it to the Settings app for Windows 10. Now, to change the desktop icons from the Settings app, do the following steps.
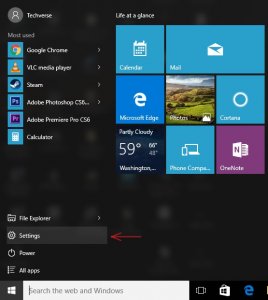
- Click on the Start button on the Taskbar to pull up the Start Menu.
- Select the Settings app icon.
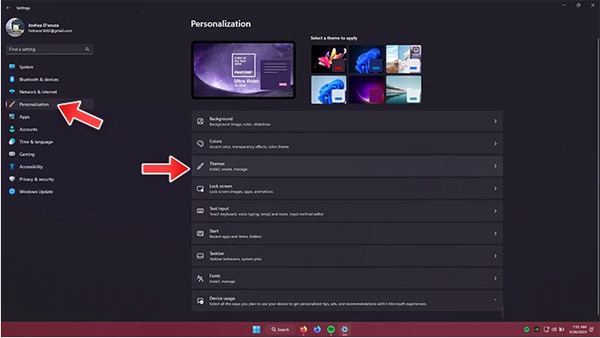
- Now, on the left-hand side, click on Personalization
- With the Personalization settings page open, click on Themes.
- Under Themes, scroll down a bit.
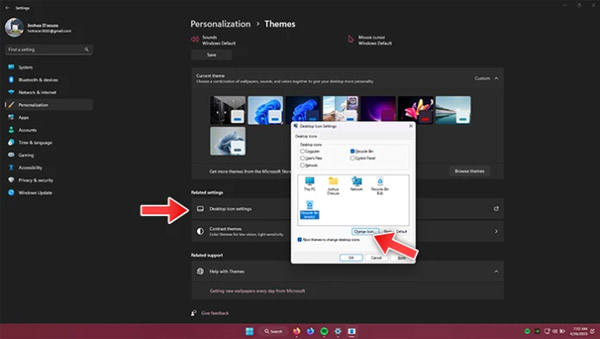
- You should see the Desktop Icon Settings option. Click on it.
- The Desktop Icon Settings window should pop up.
- Simply click on the desktop icon that you wish to change and click on the Change icon button.
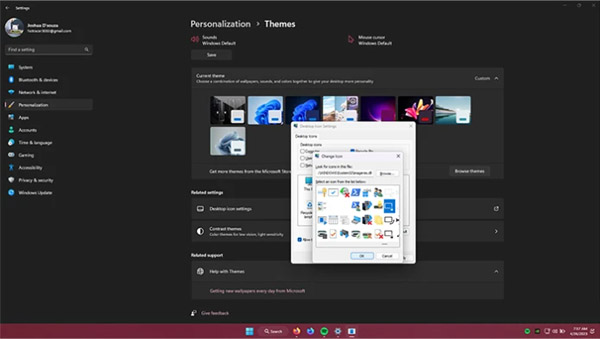
- You will be able to choose from a list of various icons that are available in Windows itself. Simply scroll through and select the one that you like.
- Click on the OK button to apply the icon.
- The desktop icon has now been changed successfully.
- If you want, you can click on the Browse button to search for an icon that you have downloaded to your PC.


 Contact Us:info@UUdesktop.com